Thankfullness Tree

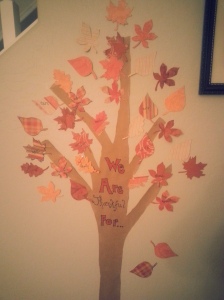
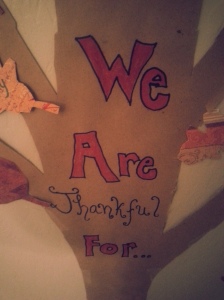
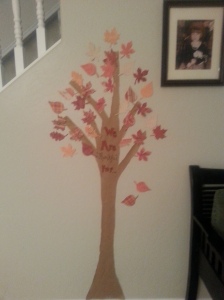
This is a fun and creative way to let everyone say what they’re thankful for and put it on display as a holiday decoration!!

20131126_113148

All you need is some brown paper (I used packaging paper from the dollar store) or felt to make your tree trunk and limbs and some fall colored paper, foam or felt to trace leaves onto and cut out.

20131126_113206

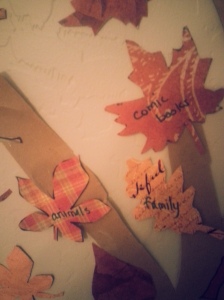
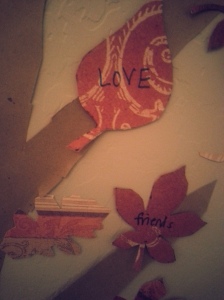
In years past, we have put the “tree” up at the beginning of November and then we each wrote something we were thankful for on a leaf each night before bed and put it on the tree.

20131126_113233

This year, we are hosting Thanksgiving dinner at our house (gulp) and so we are doing it a little differently.  We hung up the tree and leaves, but left them empty, so that when family comes to celebrate tomorrow, they can each write something they are thankful for on a leaf.  By the end of the night, we’ll have a beautiful tree full of things to be grateful for.

I can’t wait to see what everyone writes.  My kids always come up with some off the wall…yet sweet…things to write. 🙂

20131126_113215

20131126_113229

Hugs and thankfulness from my home to yours,

Trina
DIY Monogram Wreath…super cheap and really pretty!

I love wreaths.  I love anything that welcomes you into someone’s home.  It’s almost like a hug as you walk in the door.  And then I realized….I only hang them at Christmas-time.  But why?  So I decided to get crafty and make one for anytime!!

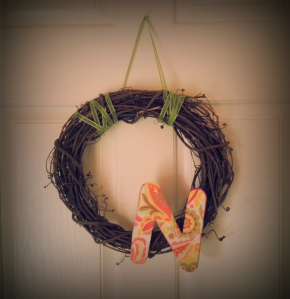
This project was so inexpensive and a fun way to just express myself!   I love the way it turned out 🙂  My door is smiling!

Here’s What I Used:

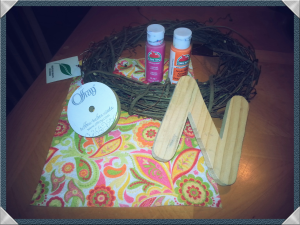
a wreath of branches that I got at Walmart for $1 (yay!)

a wooden letter (also at Walmart, $1.77, but you can find these at Micheal’s, Hobby Lobby, etc. for really cheap too)

a fun piece of felt or fabric (I got mine at Walmart for $.75)

some paint and a brush

ribbon (on sale for $.34 at Walmart!!)

a hot glue gun

2013-08-14 10.58.54

Here’s What I Did:

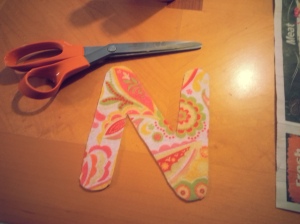
Do as I say, not as I do, lol….  Start by tracing your letter face down onto the back side of your felt.

20130814_090243

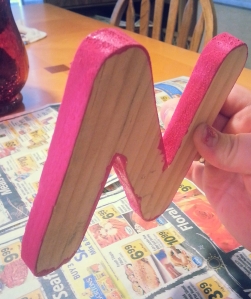
Then paint the edges (and back if you’d like) of your letter.

20130814_084107-1

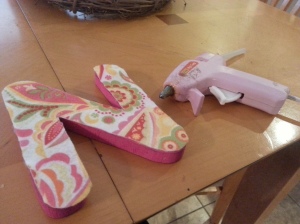
Once dry, hot glue your felt letter to the wood.

20130815_073641

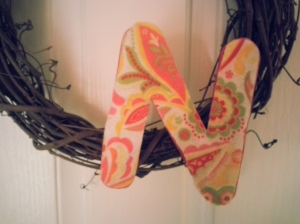
Attach the beautifully painted and fabric covered letter to your wreath with a generous amount of hot glue.

20130815_075009

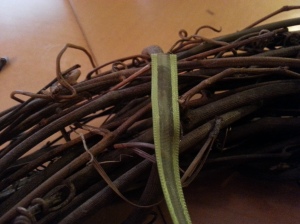
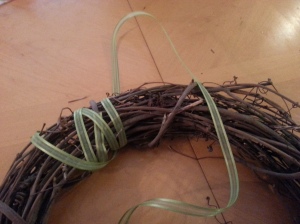
When it comes to the ribbon, you can really tie it on any way you’d like, just so long as there is a enough on top for hanging.  I glued my starting end to the wreath and wrapped it around a few times, then left some slag and wrapped the other end, gluing it in place when I was done.

20130815_074151

20130815_074234

That was it!  It took me less than an hour, start to finish and cost me less than $5!

I love the way it brightens up the door and my mood 🙂

2013-08-15 08.02.26

I hope you’ll try this craft too!  It would make a really cute gift, and you could customize it to any holiday, color scheme or preference!  Instead of a monogram, you could also attach fake flowers, pinecones, fake fruit (for a kitchen wreath!), etc.

Don’t forget to check the dollar store, Walmart, craft stores….lots of good deals out there, my friends!!

Have a wonderful weekend!

Hugs and happy doors,

Trina